Editor's brief
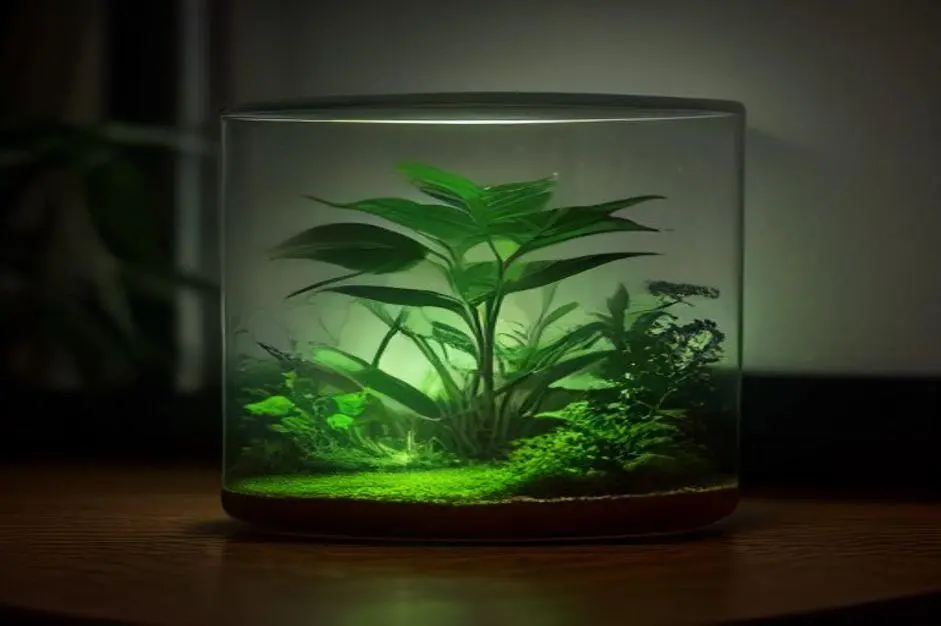
Creating a proper reptile habitat requires recreating a specific ecological niche. Balancing thermal gradients, selecting safe substrates, and providing appropriate UVB lighting prevents metabolic diseases and stress, ensuring ectothermic pets can regulate their temperature and express natural behaviors in a secure environment.
#Reptile care
#Habitat setup
#Herpetology
#Animal welfare
Setting up a reptile habitat requires more than providing a container; it necessitates the reconstruction of a specific ecological niche. Because reptiles are ectothermic—meaning they rely on external sources to regulate their body temperature—the environment serves as their primary biological support system. A meticulously designed habitat ensures the animal can meet its metabolic needs, maintain skeletal health, and express natural behaviors, forming the foundation of ethical ownership. Phase 1: Selecting the Enclosure Based on Species Requirements The first step is matching the enclosure's dimensions and materials to the specific biological requirements of the species. Orientation must reflect the animal's primary habit: terrestrial species, such as Leopard Geckos, require maximized floor space for foraging, whereas arboreal species, such as Crested Geckos, require vertical height to accommodate climbing [1]. Material choice depends on the required humidity levels. Glass tanks are common and suitable for arid species, though their poor thermal insulation causes heat to dissipate quickly. For tropical species, PVC or wooden enclosures are superior because they retain humidity more effectively and maintain internal warmth [1, 2]. When selecting, distinguish between a "terrarium," a general glass container, and a "vivarium," which is specifically engineered for living plants and animals, often featuring built-in drainage layers and specialized ventilation for high-humidity en...
Setting up a reptile habitat requires more than providing a container; it necessitates the reconstruction of a specific ecological niche. Because reptiles are ectothermic—meaning they rely on external sources to regulate their body temperature—the environment serves as their primary biological support system. A meticulously designed habitat ensures the animal can meet its metabolic needs, maintain skeletal health, and express natural behaviors, forming the foundation of ethical ownership.
Phase 1: Selecting the Enclosure Based on Species Requirements
The first step is matching the enclosure's dimensions and materials to the specific biological requirements of the species. Orientation must reflect the animal's primary habit: terrestrial species, such as Leopard Geckos, require maximized floor space for foraging, whereas arboreal species, such as Crested Geckos, require vertical height to accommodate climbing [1].

Material choice depends on the required humidity levels. Glass tanks are common and suitable for arid species, though their poor thermal insulation causes heat to dissipate quickly. For tropical species, PVC or wooden enclosures are superior because they retain humidity more effectively and maintain internal warmth [1, 2]. When selecting, distinguish between a "terrarium," a general glass container, and a "vivarium," which is specifically engineered for living plants and animals, often featuring built-in drainage layers and specialized ventilation for high-humidity environments.
To prevent stress-induced behaviors, the enclosure must meet minimum welfare standards. For example, an adult Bearded Dragon typically requires a minimum volume of 120 gallons (approximately 4x2x2 feet) to facilitate a proper thermal gradient [1]. Providing an enclosure that exceeds these minimums is often the most effective way to encourage active behavior and reduce the likelihood of territorial or stress-related ailments.
Phase 2: Implementing Thermal Regulation and Heating
Effective temperature management relies on a "thermal gradient." This is created by placing the heat source at one end of the enclosure, establishing a hot zone for basking and a cool zone where the animal can retreat to lower its body temperature [3, 4].

The heating element should align with the species' activity cycle. Deep Heat Projectors (DHP) or Ceramic Heat Emitters (CHE) provide warmth without emitting visible light, making them ideal for nocturnal species or maintaining minimum nighttime temperatures [3]. To prevent overheating and severe burns, every heating element must be connected to a thermostat. The probe should be positioned precisely at the surface where the reptile rests to ensure the reading reflects the animal's actual experience [4].
Under-tank heaters or heat mats should not be used as the primary heat source for basking species. These devices often lack the intensity required for proper digestion and can cause abdominal burns if not strictly regulated [3, 4]. This indicates that overhead heating is generally a safer, more biologically appropriate choice as it better mimics the solar radiation these animals encounter in nature.
Phase 3: Configuring Lighting and UV Requirements
Lighting provides both visibility and critical physiological support. UVB lighting is essential for the synthesis of Vitamin D3, which enables the reptile to absorb calcium [5]. Without adequate UVB exposure, reptiles may develop Metabolic Bone Disease (MBD), a debilitating condition characterized by soft bones, rubbery jaws, and skeletal deformities [6].

The UVB bulb strength must match the species' natural requirements. "Desert" bulbs (typically rated 10.0) are designed for high-UV species like Bearded Dragons, while "Forest" bulbs (typically rated 5.0) suit lower-UV species like Leopard Geckos [5]. To maximize efficiency, position the lamp so it covers a significant portion of the basking area, allowing the animal to absorb UV rays while warming its body.
To regulate the reptile's circadian rhythm and appetite, implement a consistent 12-hour day/night cycle using an automatic timer [5]. Because UV bulbs degrade over time—even while they still emit visible light—replacing them according to the manufacturer's schedule is a vital preventative health measure rather than a reactive one.
Phase 4: Selecting and Installing Safe Substrates
The substrate should mirror the reptile's natural environment. Tropical species benefit from moisture-retaining materials like coconut husk or cypress mulch, while arid species require specialized sand mixes or slate [1, 7].
Certain materials must be strictly avoided. "Calcium sand" and crushed walnut shells can cause intestinal impaction if ingested during feeding, leading to potentially fatal gastrointestinal blockages [1, 7]. In high-humidity setups, installing an absorbent base layer, such as lightweight expanded clay aggregate (LECA), prevents the substrate from becoming anaerobic or moldy [7].
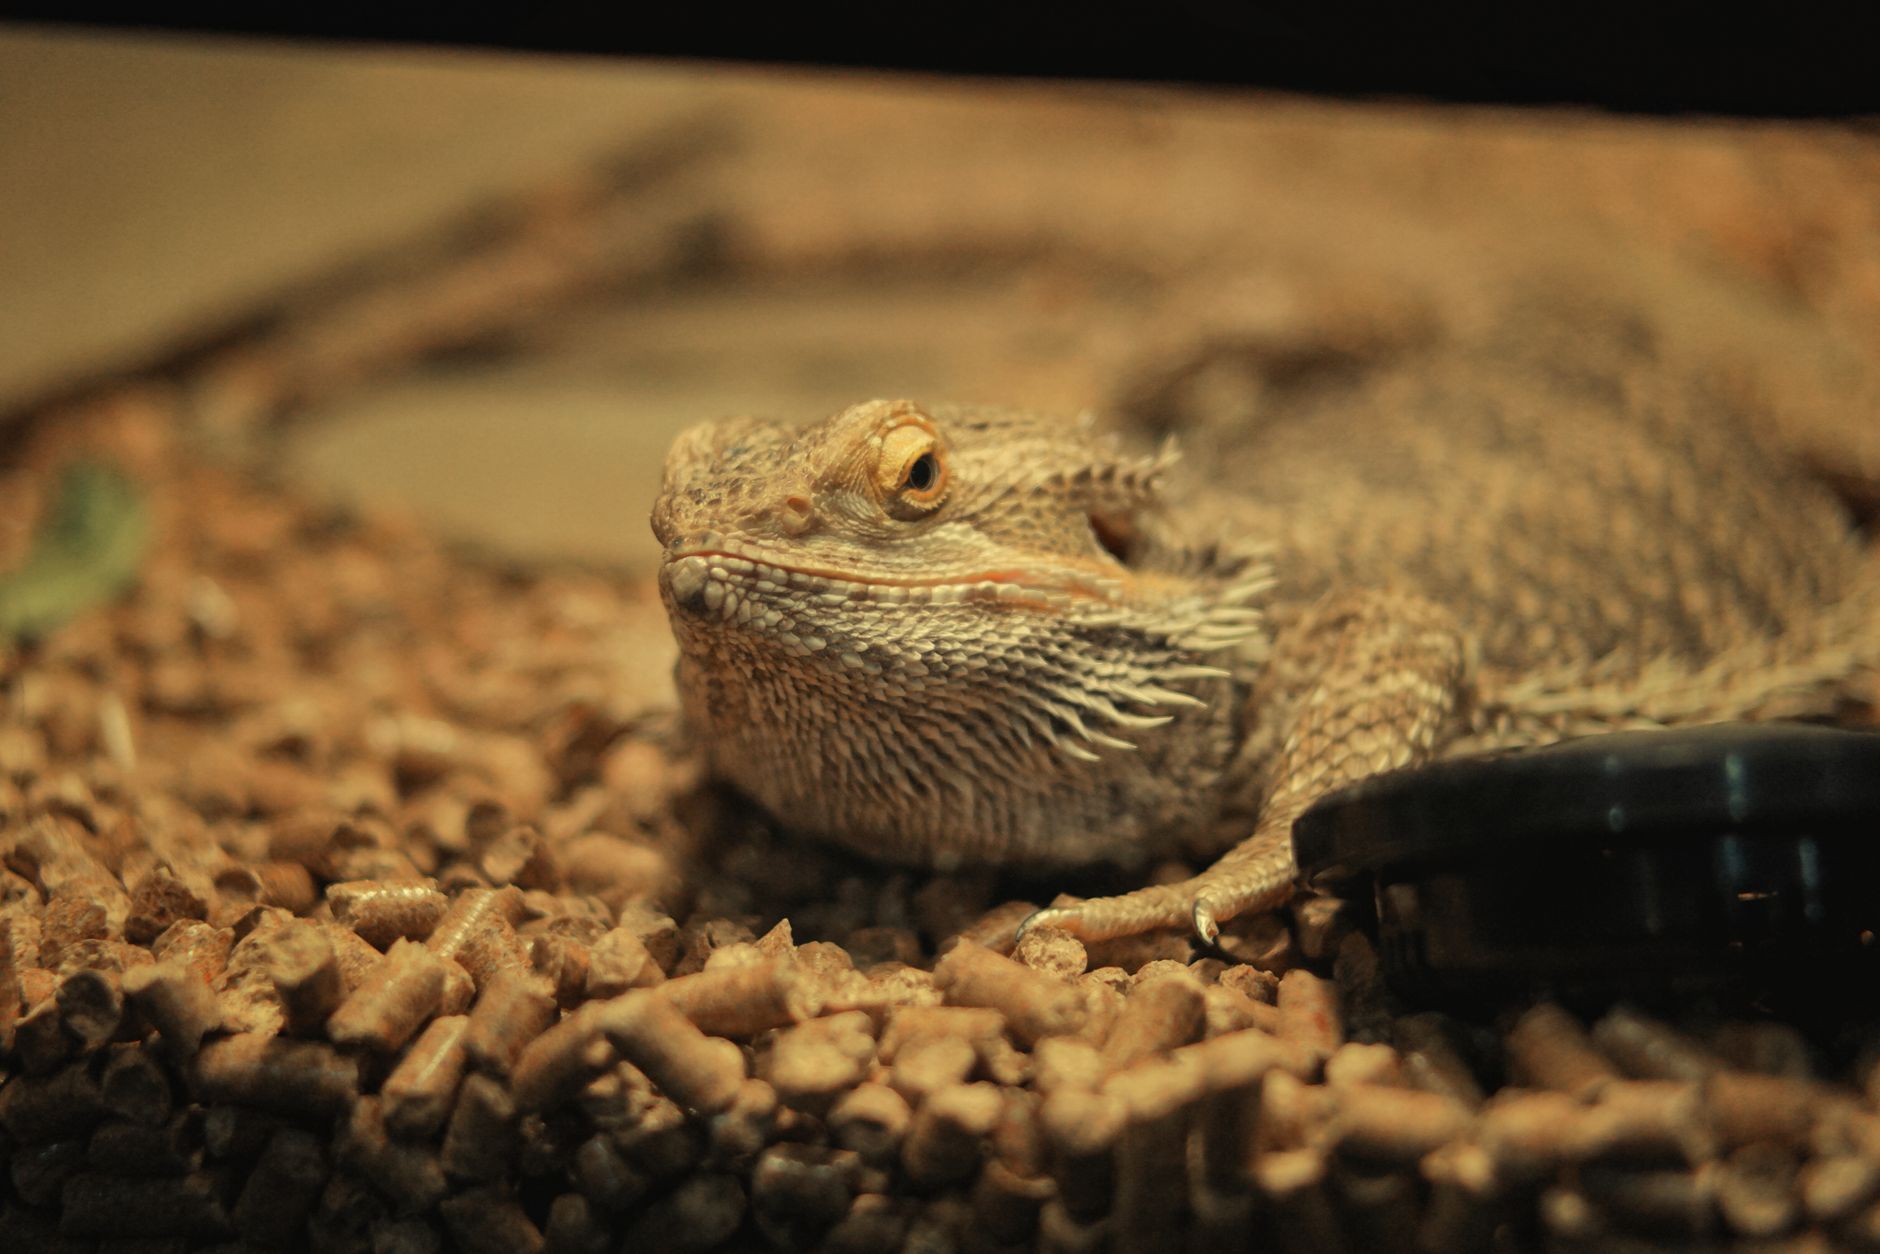
During quarantine or when monitoring a sick animal, disposable paper towels are the most effective substrate. They provide a sterile surface that allows the owner to monitor waste and health indicators without the interference of debris [1, 7]. This trade-off—prioritizing sterility over aesthetics—is essential for ensuring a new animal is disease-free before it enters a permanent setup.
Phase 5: Final Assembly, Monitoring, and Common Mistakes
The final stage involves adding environmental enrichment to reduce stress. Every habitat should include at least two hides—one in the hot zone and one in the cool zone—so the animal feels secure regardless of its temperature needs [4, 2]. Additionally, provide climbing branches for arboreal species and a shallow water dish cleaned daily to prevent bacterial growth [4].
Before introducing the reptile, run the habitat for 24 to 48 hours. This "burn-in" period allows the owner to verify that the thermostat and heating elements maintain target temperatures consistently [4]. A common mistake is relying on a single digital thermometer; instead, use at least two sensors—one at each end of the gradient—to ensure there are no dangerous "hot spots" or freezing zones [2].

When these steps are followed, the result is a stable, bio-secure environment. Continuous monitoring remains necessary, as seasonal changes in the home environment can shift the internal stability of the habitat, requiring adjustments to heating or humidity.
References
- RSPCA, 'Reptiles: Advice & Welfare,' RSPCA, 2024. View source.
- Merck Veterinary Manual, 'General Husbandry of Reptiles,' Merck Veterinary Manual, 2023. View source.
- AVS, 'Reptile Heating Guide,' AVS, 2023. View source.
- Vetstreet, 'Reptile Care Basics,' Vetstreet, 2024. View source.
- Reptiles Magazine, 'UVB Lighting Guide,' Reptiles Magazine, 2023. View source.
- Merck Veterinary Manual, 'Metabolic Bone Disease in Reptiles,' Merck Veterinary Manual, 2023. View source.
- Reptile Center, 'Safe Substrates for Reptiles,' Reptile Center, 2024. View source.

Hey there, I’m Hannah Müller. With a background in Veterinary Science and over 7 years diving deep into pet and animal welfare journalist guiding owners on health, behavior, and ethical treatment of companion animals., I try to bring a personal touch to every piece I write—grounded, clear, and real.