Editor's brief
Rescuing worn furniture requires a balance of patience and technical precision. From identifying structural rot to mastering the grit progression of sanding, a thoughtful restoration process preserves the soul of a piece while ensuring it remains functional for years to come.
#Furniture restoration
#Woodworking
#DIY home
#Upcycling
There is a profound satisfaction in rescuing a piece of furniture that the world has deemed defeated. A worn-out sideboard or a scratched coffee table often possesses a soul and structural honesty that modern, flat-pack alternatives lack. However, the transition from a dusty antique to a stunning statement piece requires patience and a respect for the material. Successful restoration is not about forcing a new look onto an old object, but about listening to what the wood needs to return to its best self. Selecting the Right Project Finding "good bones"—structural integrity that can withstand the restoration process—is essential. While a faded finish or a wobbly leg is an easy fix, deep structural rot or pervasive termite damage often outweighs the effort of the rescue. It is also critical to distinguish between solid wood and veneers. A solid oak table is ideal for refinishing, but a piece with a thin layer of walnut veneer requires a much lighter touch. Sanding too aggressively through a veneer can leave permanent scars in the substrate, turning a simple makeover into a complex repair. For those new to DIY home improvement, the temptation to start with a grand heirloom can be strong. However, success usually follows a trajectory of small wins. Starting with a bedside table or a simple plant stand allows for a learning curve where the stakes are low. These smaller projects make it easier to practice the rhythm of sanding and the patience required for drying times without feel...
There is a profound satisfaction in rescuing a piece of furniture that the world has deemed defeated. A worn-out sideboard or a scratched coffee table often possesses a soul and structural honesty that modern, flat-pack alternatives lack. However, the transition from a dusty antique to a stunning statement piece requires patience and a respect for the material. Successful restoration is not about forcing a new look onto an old object, but about listening to what the wood needs to return to its best self.
Selecting the Right Project
Finding "good bones"—structural integrity that can withstand the restoration process—is essential. While a faded finish or a wobbly leg is an easy fix, deep structural rot or pervasive termite damage often outweighs the effort of the rescue. It is also critical to distinguish between solid wood and veneers. A solid oak table is ideal for refinishing, but a piece with a thin layer of walnut veneer requires a much lighter touch. Sanding too aggressively through a veneer can leave permanent scars in the substrate, turning a simple makeover into a complex repair.

For those new to DIY home improvement, the temptation to start with a grand heirloom can be strong. However, success usually follows a trajectory of small wins. Starting with a bedside table or a simple plant stand allows for a learning curve where the stakes are low. These smaller projects make it easier to practice the rhythm of sanding and the patience required for drying times without feeling overwhelmed by the volume of surface area.
The Physical Audit and Preparation
Before opening chemicals or powering up tools, conduct a thorough physical audit. Search for tell-tale signs of distress: tiny, pin-sized exit holes often indicate the activity of wood-boring beetles, while a soft, spongy texture at the base of the legs suggests rot from damp floors. Identifying these issues early determines whether a piece needs a simple cosmetic refresh or an intensive structural intervention.
Cleaning the surface is the next essential step. Layers of accumulated wax, nicotine, and grime can mask the true condition of the wood. A gentle solution of mild detergent and warm water, applied with a soft cloth, usually strips away surface oils without penetrating the grain, often revealing hidden scratches or water rings. At this stage, consider the piece's heritage. In the world of antiques, the patina—that thin, aged layer of oxidation and wear—is often where the financial and historical value resides. Stripping a rare patina away in favor of a "new" look can inadvertently diminish the piece's value.
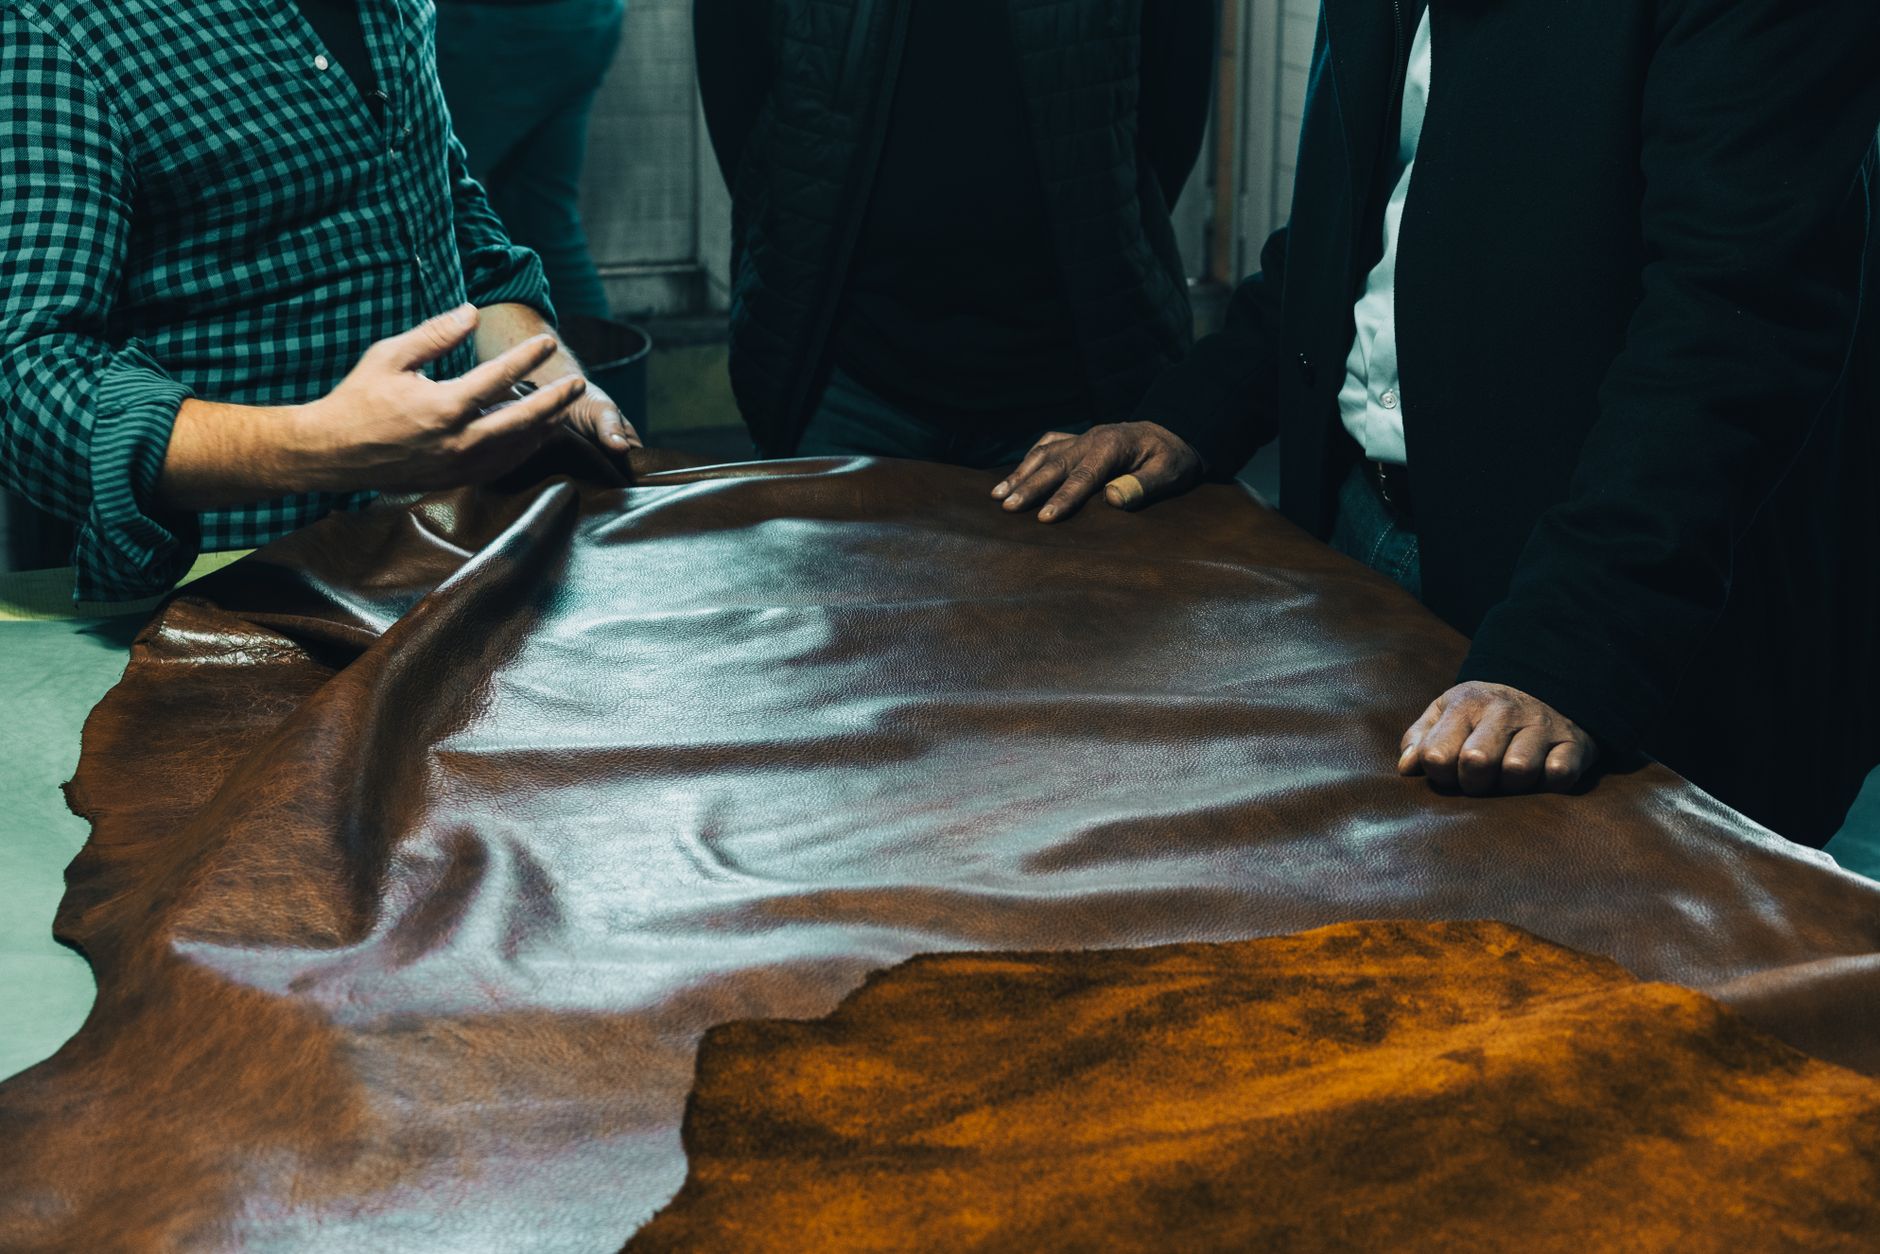
Once clean, remove all hardware. Knobs, hinges, and drawer pulls are often the most fragile components and can be easily scratched or stripped if left in place. While removing them, identify the wood species. The open grain of oak reacts differently to finishes than the tight grain of maple or the rich depths of walnut. Knowing the species prevents the frustration of a stain that turns out too orange or a finish that refuses to soak in.
Removing Old Finishes
A common mistake is reaching for sandpaper before the old finish is gone. Sanding through a thick layer of varnish or oil paint often leads to "clogging," where friction heat melts the finish into the wood's pores, creating a gummy residue. Determine if the piece requires a chemical stripper or a heat gun. Heat guns are effective for thick, multi-layered paint, as they soften the coating into a peelable film, though they carry the risk of scorching the wood or releasing toxic fumes if the paint contains lead.

Chemical strippers are better suited for thinner varnishes or intricate carvings. Safety during this stage requires managing the environment; chemical vapors, specifically volatile organic compounds (VOCs), can linger at waist height. Creating a cross-breeze with a fan pushing air outward ensures that fumes do not settle in your breathing zone, preventing the lightheadedness that often leads to sloppy application.
Structural Restoration
A piece may look stunning, but if it remains unstable, it is a decorative object rather than a functional tool. Small voids, such as wormholes or shallow scratches, are best handled with high-quality wood filler. Fill these gaps slightly "proud"—leaving a small mound of material—because most fillers shrink as they cure. For high-contrast woods, choosing a filler slightly darker than the natural wood yields a more realistic result, as light-colored fillers can stand out like scars once stained.
When dealing with loose joints, remove old, brittle glue before introducing new adhesives. Old hide glue or dried PVA does not bond well to new glue. Applying a professional-grade wood glue and securing the joint with clamps forces the adhesive into the fibers, creating a bond often stronger than the wood itself. Any "squeeze-out" must be wiped away with a damp cloth immediately, as dried glue resists stain and leaves pale spots.
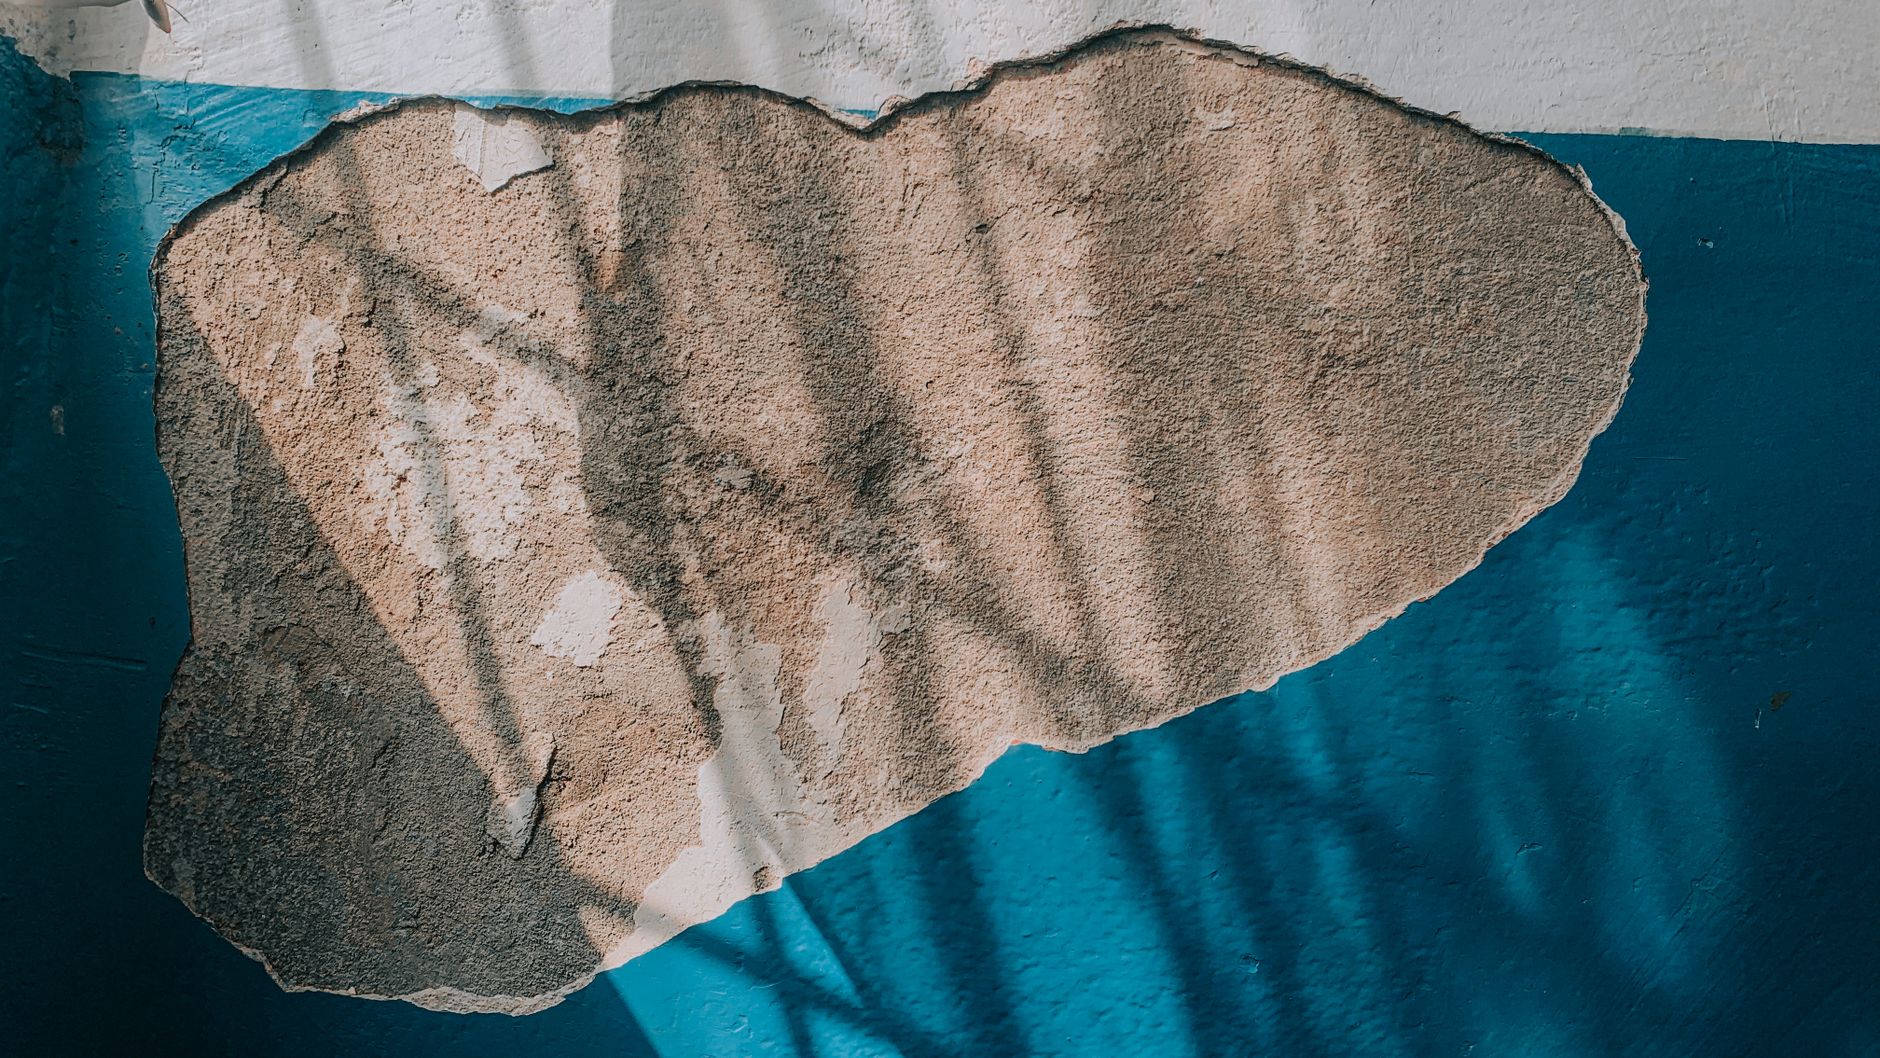
For larger missing chunks, a "Dutchman" repair is the professional standard. This involves carving out a clean, geometric section of the damaged area and gluing in a matching piece of solid wood with a similar grain direction. For irregular damage, a two-part epoxy is a reliable alternative, as it does not shrink and provides immense structural strength for weight-bearing supports. In cases of mild bowing, applying moist heat through steaming can relax the wood fibers enough to allow the piece to be clamped back into its original shape.
The Precision of Sanding
Approach sanding as a gradual progression. Starting with a coarse grit, such as 80 or 100, removes stubborn remnants of varnish and levels deep scratches. Jumping straight to a fine grit, such as 220, is a frequent error that leaves behind microscopic "pigtails" or swirl marks. These remain invisible until the first coat of stain is applied, at which point they appear as permanent scars.

A professional finish requires a disciplined transition: 80, then 120, then 180, and finally 220 for most hardwoods. The hand is a better tool than the eye here; running a palm across the wood reveals ridges the eye misses. Every stroke must follow the direction of the grain. Sanding across the grain creates perpendicular scratches that disrupt the natural beauty of the timber and are nearly impossible to remove without aggressive over-sanding, which risks flattening the piece's original contours.
Color and Protection
The decision to stain or paint depends on whether you want to celebrate the wood's biological history or redefine its identity. Staining emphasizes organic growth rings, while paint treats the furniture as a sculptural form. Before applying pigment to softer species like pine or birch, use a pre-stain wood conditioner to prevent "blotching," where the stain is absorbed unevenly.
A high-quality synthetic brush works for carvings, but a lint-free cotton cloth is superior for flat surfaces to avoid brush tracks. Always move in the direction of the grain. Once the stain is applied, allow it to penetrate for a few minutes—following the manufacturer's guidance—and then firmly wipe away every bit of excess. This "wipe-back" process ensures the color is embedded within the wood rather than sitting on top, which prevents the finish from peeling or feeling sticky.

To protect the surface from daily wear, apply a clear sealant such as polyurethane. The chosen sheen dictates the mood: high-gloss is formal and reflective, while matte or satin is modern and better at hiding fingerprints. Applying these topcoats in thin, sanded layers ensures a durable shell that does not look like a layer of plastic.
Final Details and Maintenance
The final character of a piece often hinges on the smallest details. Hardware acts as the jewelry of the furniture. Polishing original brass preserves historical soul, while swapping ornate pulls for slim, matte versions can pull a Victorian sideboard into a minimalist living room. For a tactile quality that synthetic varnishes lack, a final layer of beeswax or carnauba wax provides a soft, satiny luster and a breathable seal against humidity changes.
A critical final step is allowing the piece to cure. A surface that is "dry to the touch" is not fully cured. Most finishes undergo a chemical hardening process that can take several weeks. Placing heavy objects on a table too early can lead to permanent indentations or "ghosting" marks.
Long-term maintenance requires a shift in habits. Use a clean, microfiber cloth for dusting to prevent micro-scratches, and use coasters to avoid white rings caused by moisture trapped in the sealant. Because wood is a living material, a fresh application of protective wax every few years prevents the timber from becoming brittle, transforming restoration from a one-time task into a long-term relationship with the object.
Conclusion
Furniture restoration is as much an exercise in mindfulness as it is in craftsmanship. By prioritizing the structural audit, respecting the grit progression of sanding, and allowing ample time for curing, you can turn a discarded object into a functional piece of art. The quality of your final finish is decided long before the stain is applied; it is won in the cleaning, the clamping, and the patient sanding of the grain.

Hi! Elena Novak here. My background in Interior Architecture and my experiences over 13 years have made me deeply engaged with home and lifestyle writer who helps readers design comfortable, functional, and beautiful spaces on realistic budgets.. I write to share perspectives, spark ideas, and make complex topics feel human.