Editor's brief
Cold brew offers a smooth, low-acid alternative to traditional iced coffee through a patient immersion process. Success depends on a coarse grind, precise coffee-to-water ratios, and double filtration to eliminate sediment, turning a simple kitchen project into a professional-grade beverage.
#Cold brew
#Coffee brewing
#Home barista
#Specialty coffee
Unlike traditional iced coffee, which is brewed hot and then chilled, cold brew is a patient process of immersion. By extracting flavor without heat, this method produces a beverage with naturally lower acidity and a smooth, chocolatey sweetness, making it a gentle alternative for those who find hot-brewed coffee too sharp. Mastering this process at home is less about expensive machinery and more about the precise curation of ingredients and ratios. Essential Equipment and Ingredient Selection The character of a cold brew is decided long before the water hits the beans. For a professional result, prioritize high-quality Arabica beans labeled as "Specialty Coffee," which are scored 80 points or higher on the Specialty Coffee Association (SCA) scale [1]. This standard ensures a complex flavor profile and the absence of defects that can muddy the final taste [2]. While dark roasts offer the classic nutty and chocolatey notes typically associated with the style, light roasts provide floral or fruity acidity [2]. Because cold brewing naturally suppresses perceived bitterness, using a light roast allows these brighter, tea-like nuances to emerge more clearly [2]. To protect these delicate flavors, use filtered water; the chlorine and heavy minerals found in some tap water can introduce off-flavors that clash with the coffee's natural profile [2]. In terms of hardware, a burr grinder is essential for achieving a consistent particle size, paired with a large glass jar or a dedicated...
Unlike traditional iced coffee, which is brewed hot and then chilled, cold brew is a patient process of immersion. By extracting flavor without heat, this method produces a beverage with naturally lower acidity and a smooth, chocolatey sweetness, making it a gentle alternative for those who find hot-brewed coffee too sharp. Mastering this process at home is less about expensive machinery and more about the precise curation of ingredients and ratios.
Essential Equipment and Ingredient Selection
The character of a cold brew is decided long before the water hits the beans. For a professional result, prioritize high-quality Arabica beans labeled as "Specialty Coffee," which are scored 80 points or higher on the Specialty Coffee Association (SCA) scale [1]. This standard ensures a complex flavor profile and the absence of defects that can muddy the final taste [2]. While dark roasts offer the classic nutty and chocolatey notes typically associated with the style, light roasts provide floral or fruity acidity [2]. Because cold brewing naturally suppresses perceived bitterness, using a light roast allows these brighter, tea-like nuances to emerge more clearly [2].
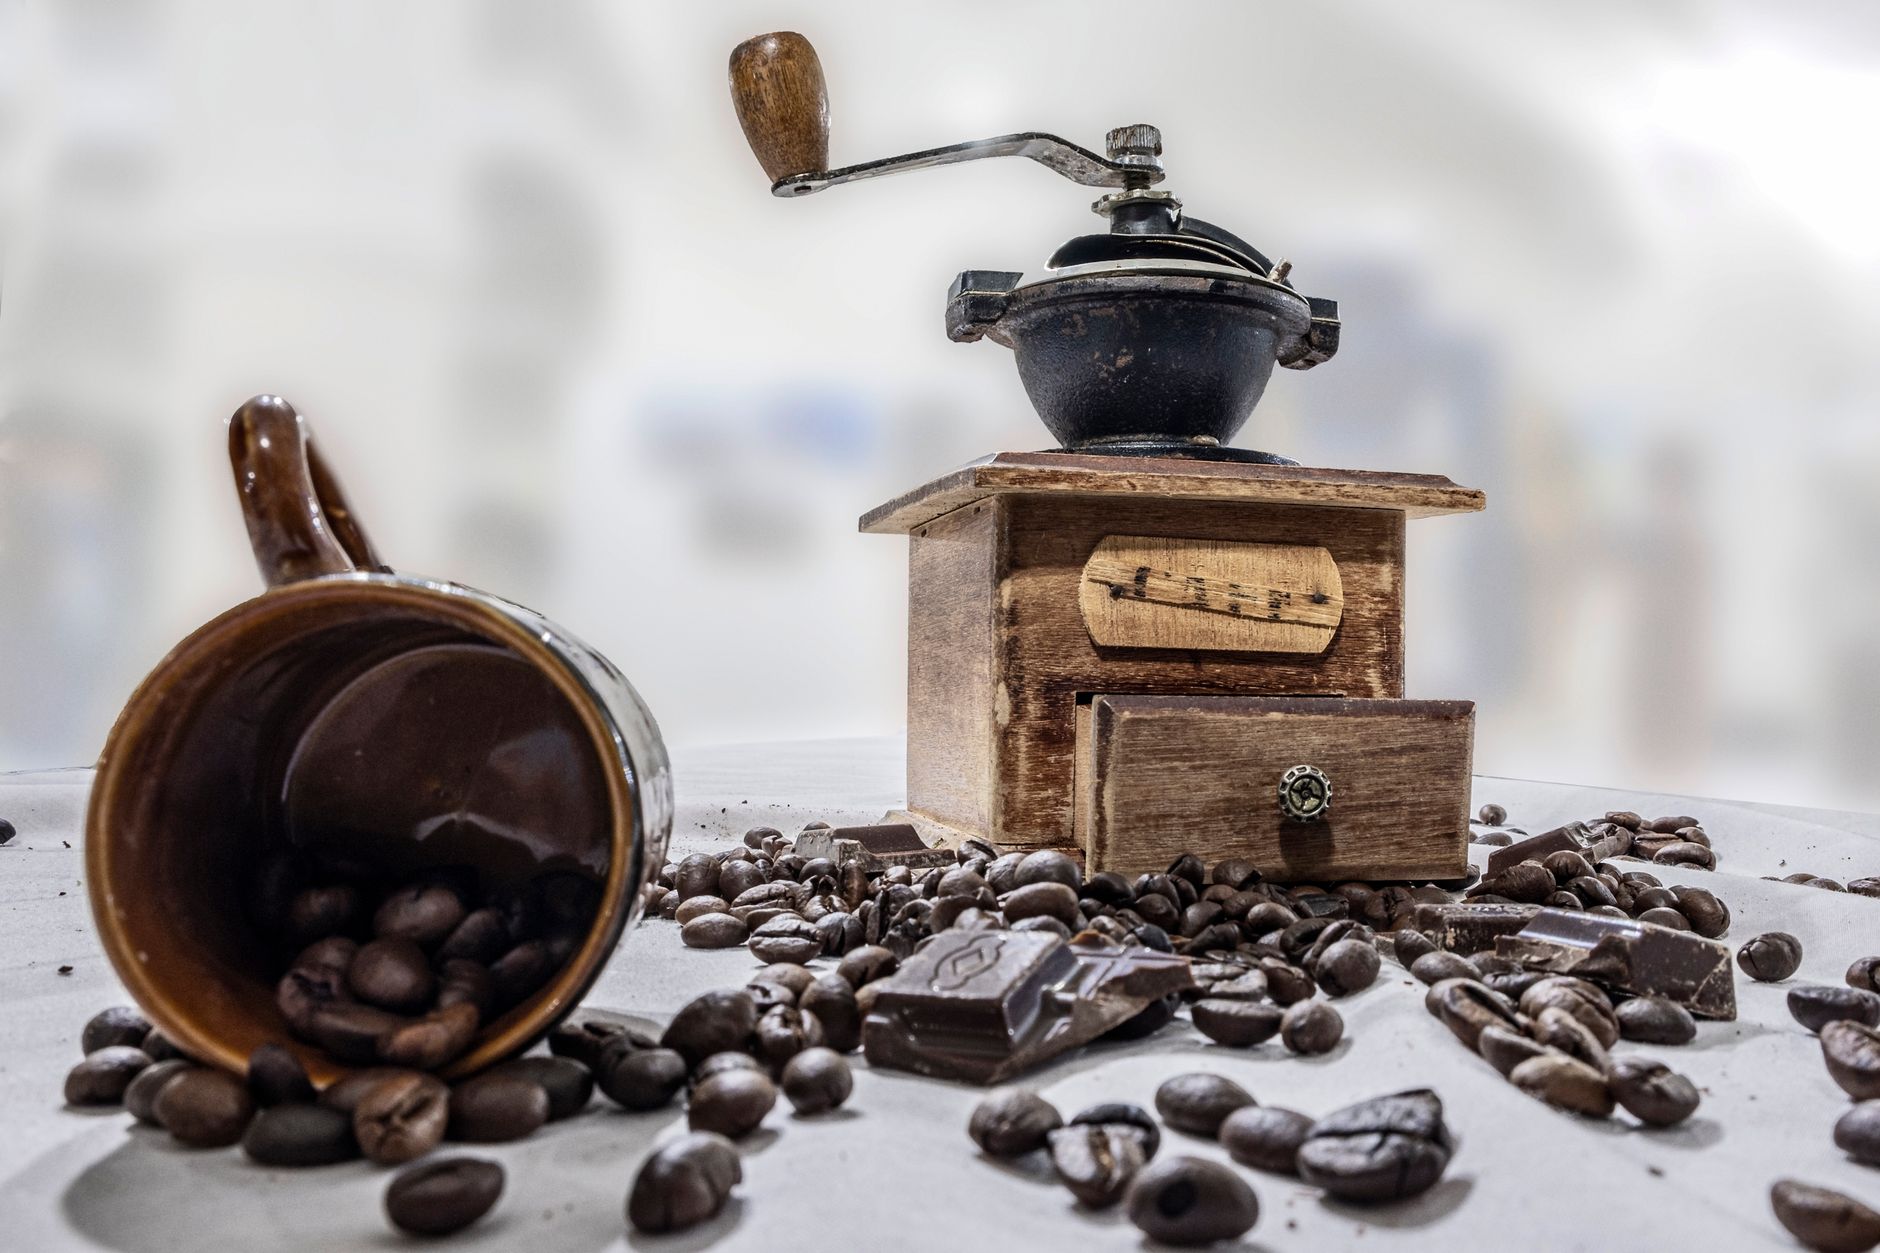
To protect these delicate flavors, use filtered water; the chlorine and heavy minerals found in some tap water can introduce off-flavors that clash with the coffee's natural profile [2]. In terms of hardware, a burr grinder is essential for achieving a consistent particle size, paired with a large glass jar or a dedicated cold brew maker. For the final stage, a filtration system—such as paper filters, a fine-mesh sieve, or cheesecloth—is required [2]. This foundational setup indicates that the leap from a mediocre home brew to a cafe-quality drink depends on the purity of the inputs and the consistency of the grind.
Mastering the Grind and Coffee-to-Water Ratio
Precision in the grind is the most critical technical requirement. Set the grinder to a "Coarse" setting, producing particles that resemble sea salt or breadcrumbs [3]. A coarse grind is mandatory because the extended steeping time allows for a slow, steady extraction; if the grounds are too fine, the water will over-extract the beans, resulting in an astringent bitterness and a filtration process that is nearly impossible to manage [3].
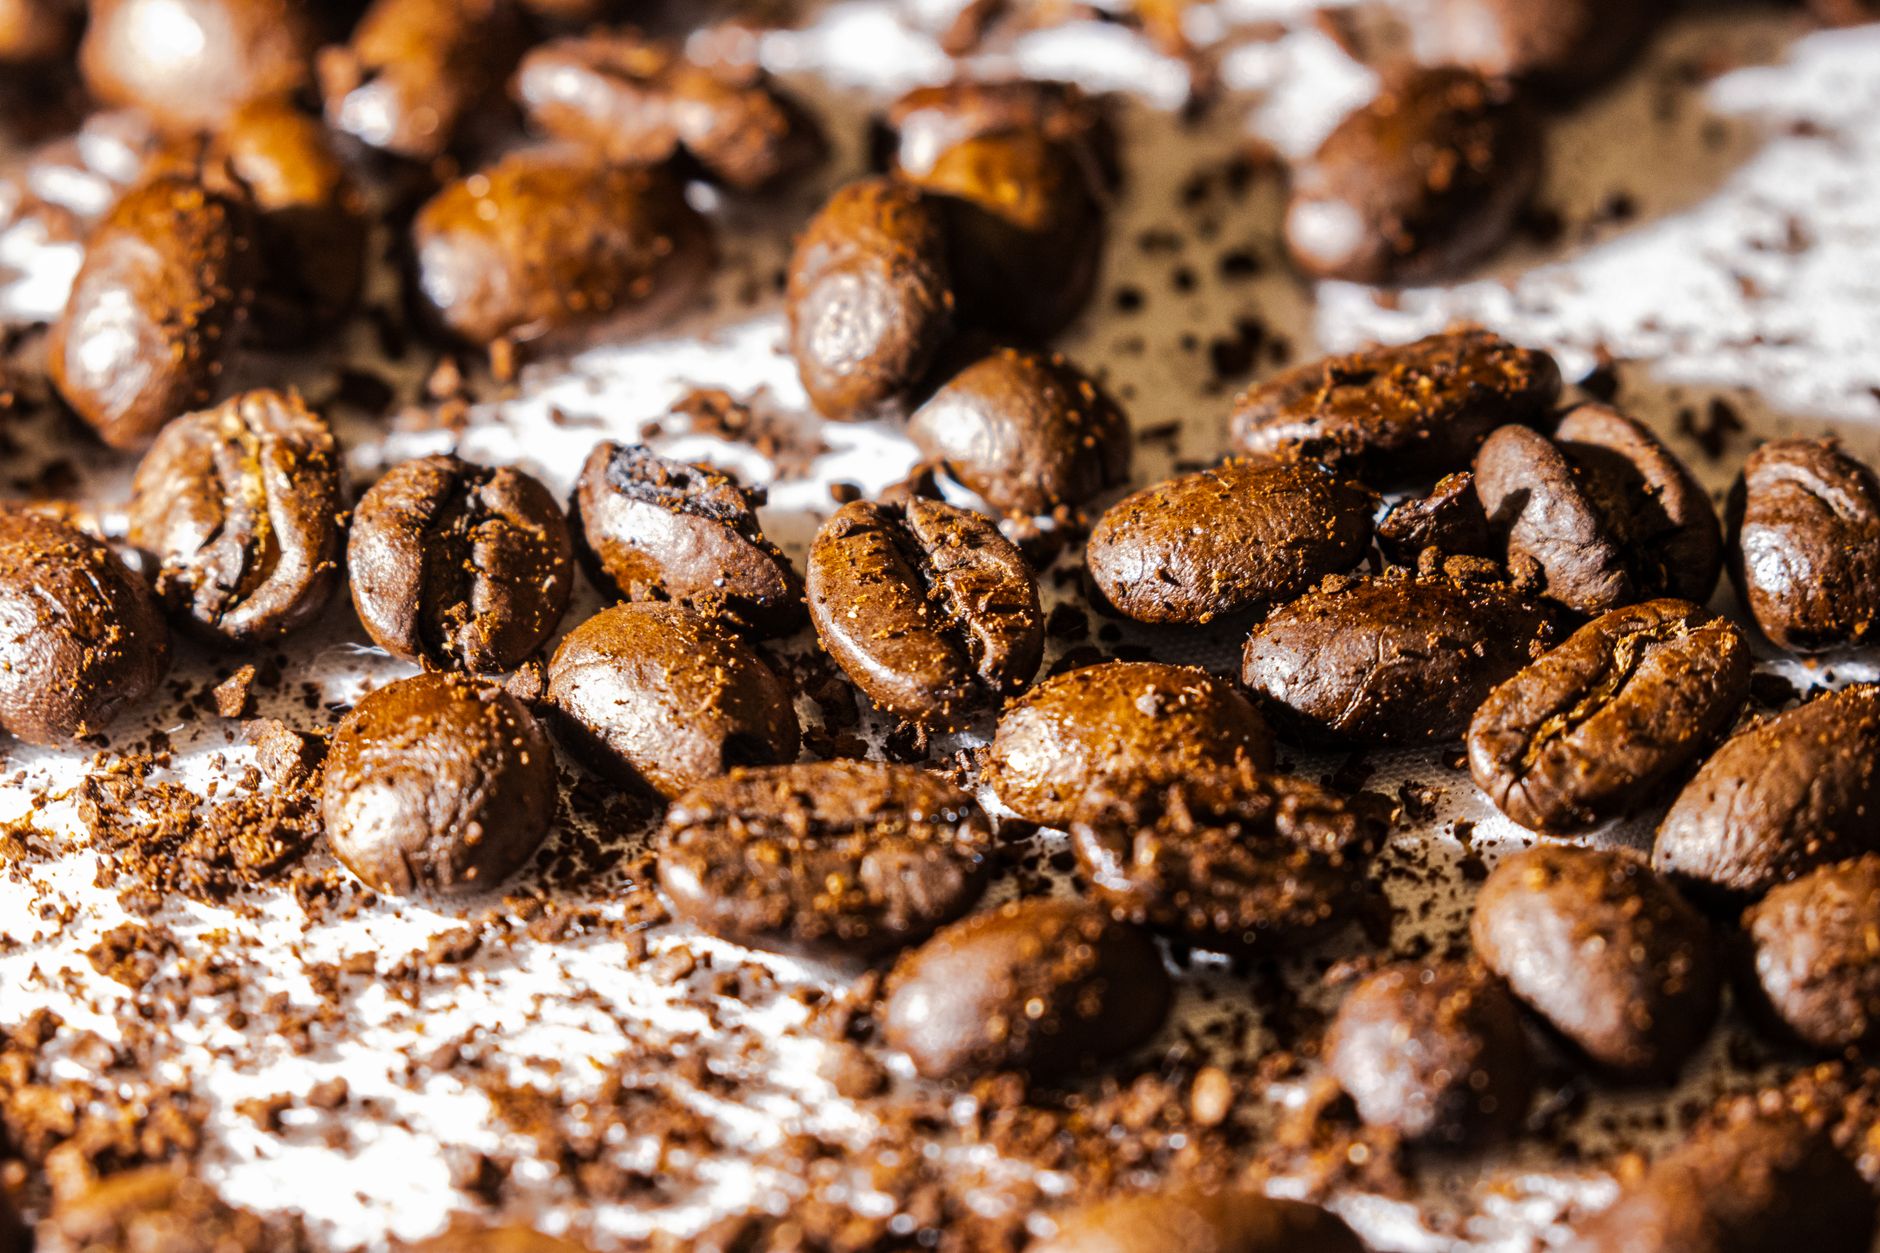
The desired strength of the brew depends on whether you prefer a "Cold Brew Concentrate" or a "Ready-to-Drink" (RTD) coffee. A concentrate serves as a potent base for dilution, typically brewed at a ratio of 1:4 or 1:8 (one part coffee to four or eight parts water by weight) [3, 4]. In contrast, a ready-to-drink brew uses a ratio of 1:15 or 1:16, creating a lighter coffee intended for immediate consumption [3, 4]. To maintain consistency, use a digital kitchen scale. Volumetric measurements, such as cups or spoons, are unreliable because the density of beans varies by roast level and grind size [4]. Relying on weight ensures that every batch maintains a predictable strength, transforming the process from a guess into a reliable ritual.
The Step-by-Step Brewing Process
Once the ingredients are prepared, follow this sequence to ensure an even, comprehensive extraction:
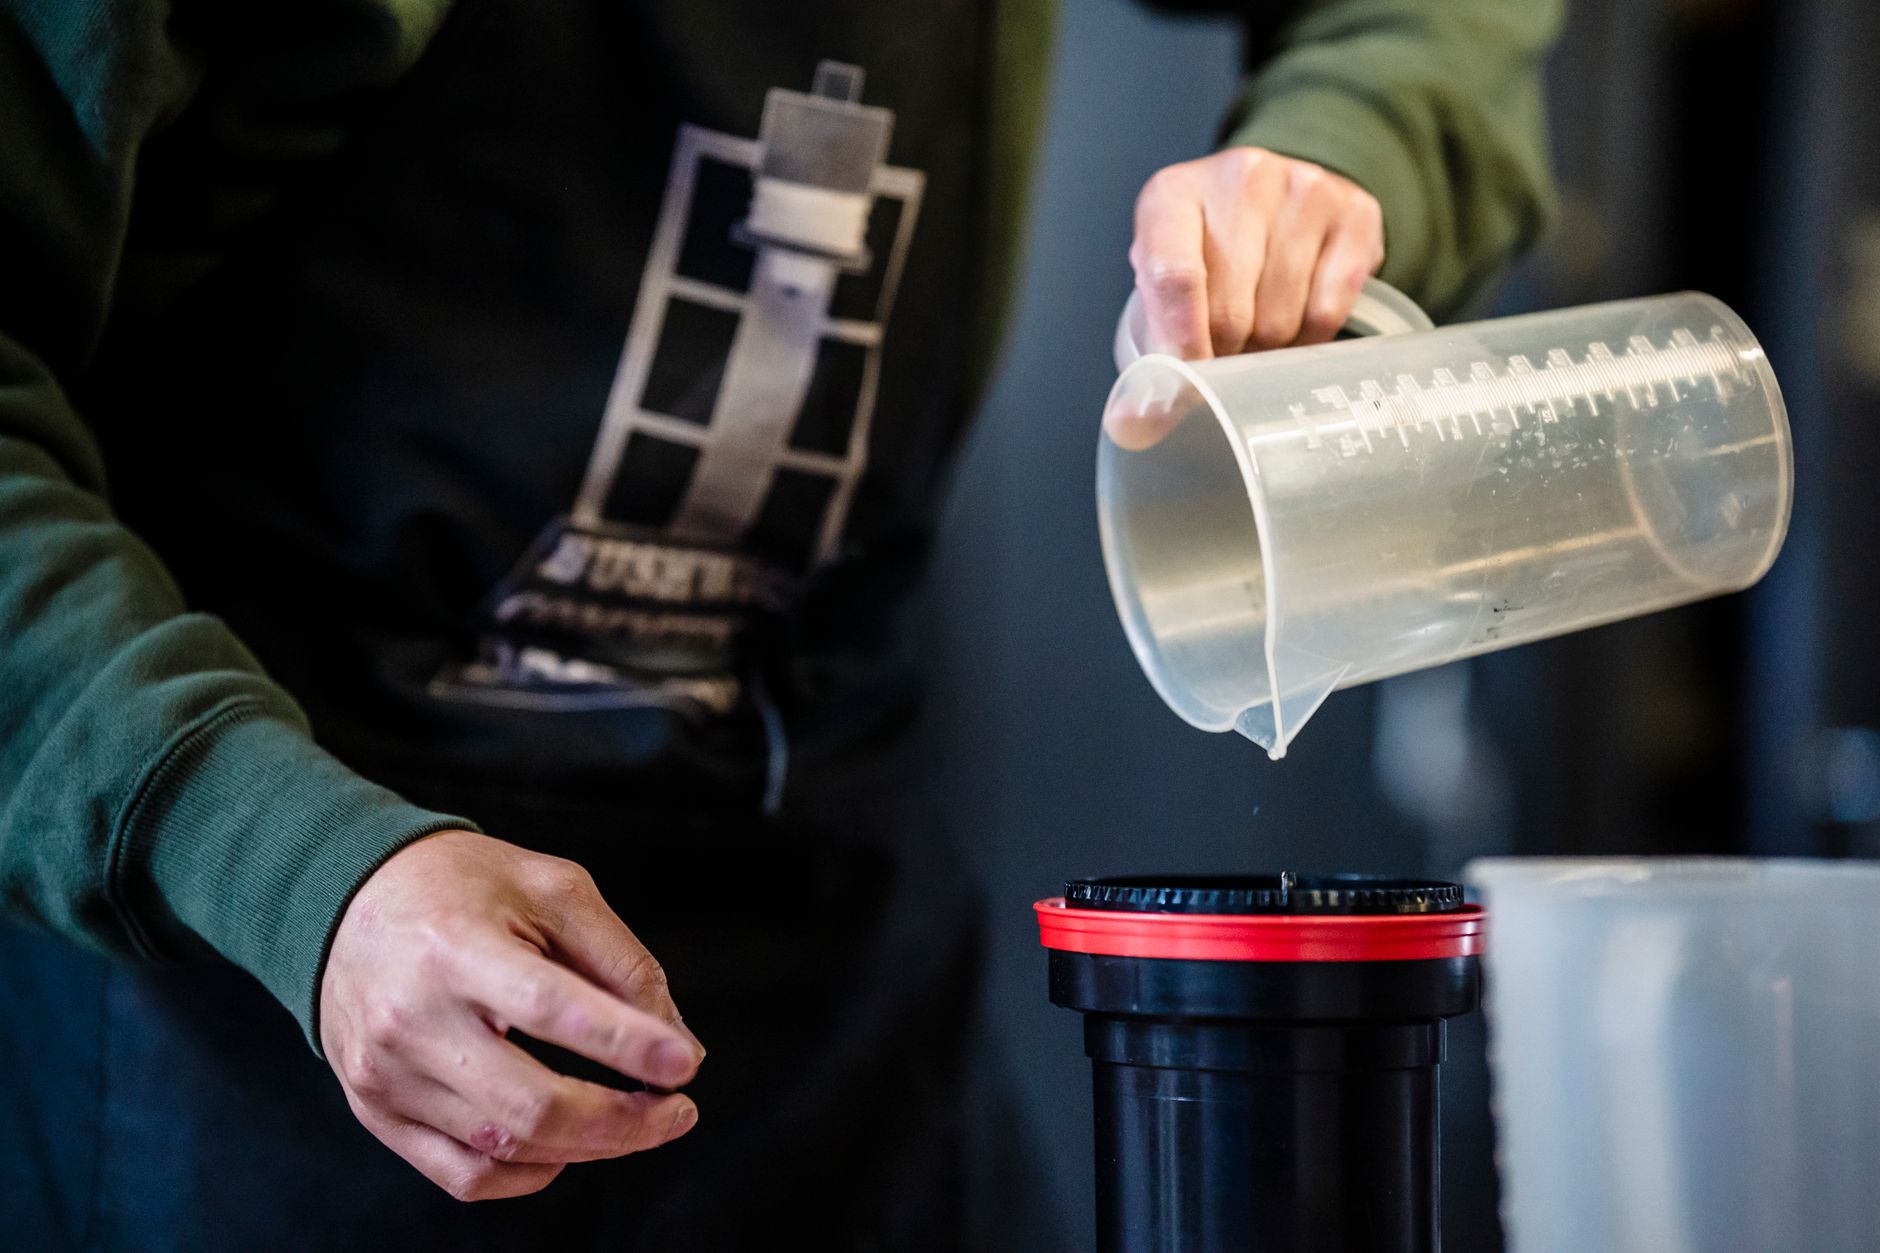
- Add the coarsely ground coffee to the brewing vessel first, then gently pour the filtered water over the grounds [5, 6].
- Stir the mixture slowly to ensure every coffee ground is fully saturated; dry clumps can lead to uneven extraction and "weak" spots in the flavor profile [5].
- Seal the container tightly to prevent the coffee from absorbing refrigerator odors and to maintain a stable temperature [6].
- Steep the mixture for 12 to 24 hours. Steeping for 12 to 15 hours at room temperature typically yields a brighter, more vibrant taste, while 18 to 24 hours in the refrigerator produces a deeper, more mellow flavor [5, 6].
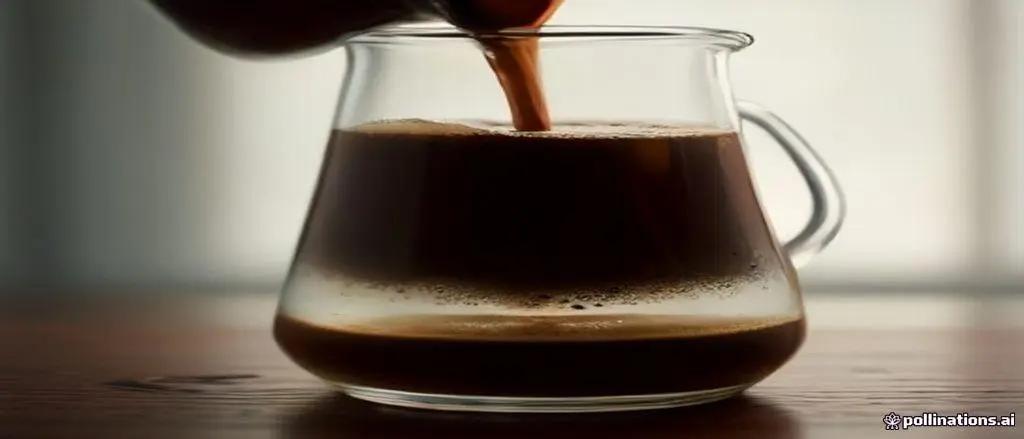
The expected result is a dark, opaque liquid topped with a thick layer of floating grounds, known as the "crust" [6]. This flexibility in steeping environment allows the brewer to consciously trade brightness for depth, tailoring the beverage to the desired mood.
Filtration, Storage, and Serving
To achieve a clean, polished mouthfeel, filtration should be performed in two stages. First, pass the brew through a fine-mesh sieve to remove the bulk of the grounds. Second, filter the liquid through a paper filter to remove "fines"—the microscopic particles created during grinding that can slip through coarse filters [7, 8]. Removing these fines prevents a muddy texture and extends the shelf life of the coffee [8].
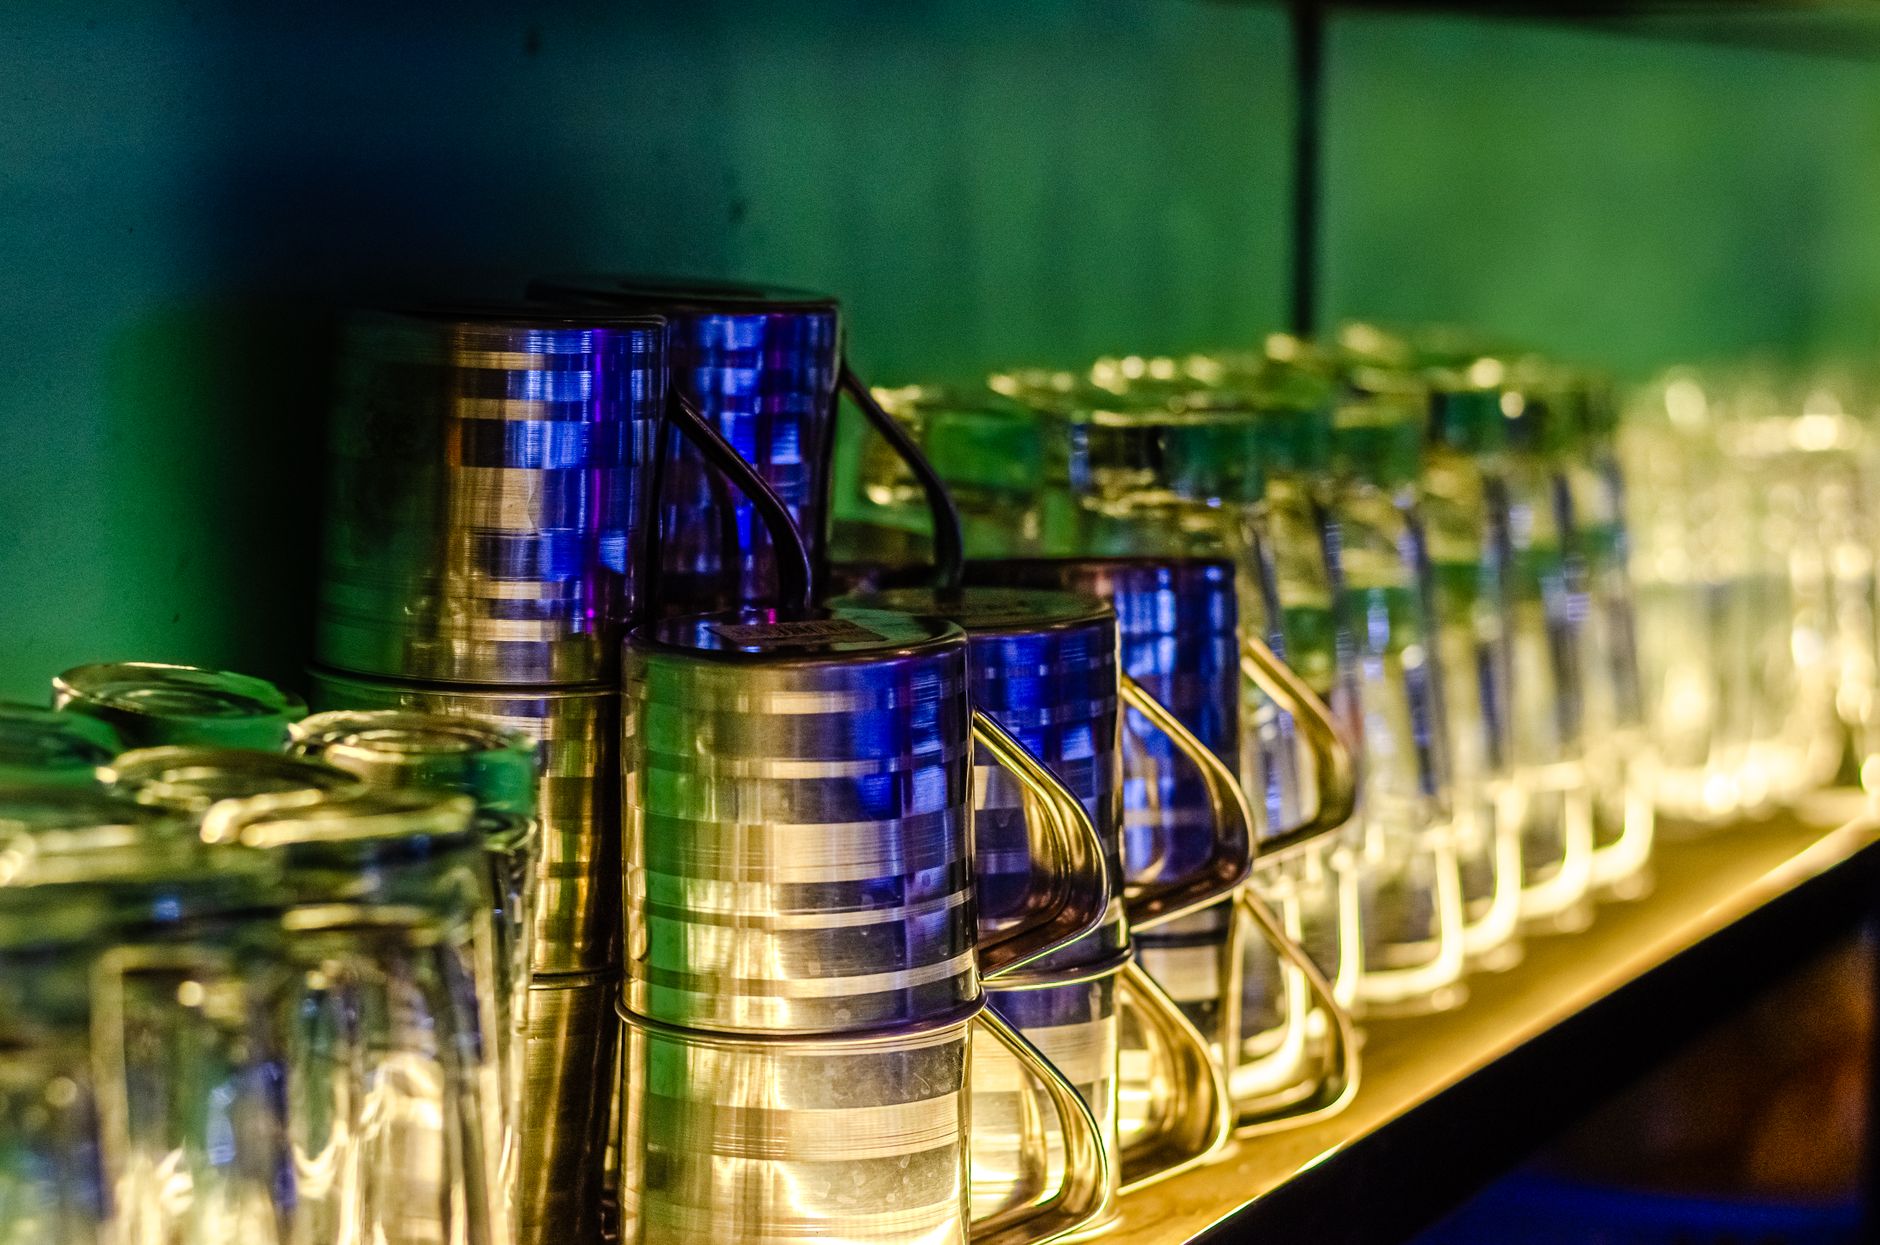
Store the finished brew in an airtight glass container in the refrigerator, where properly filtered cold brew remains fresh for 7 to 14 days [7]. Serving depends on the initial ratio used:
- Concentrate: Dilute with equal parts water or milk to taste, allowing for a customized strength [7].
- Ready-to-Drink: Pour directly over ice. To avoid over-watering the drink, avoid adding ice to a concentrate before it has been diluted [8].
Common Mistakes and Troubleshooting
Certain technical errors can compromise an otherwise perfect brew. Using a medium or fine grind is a frequent mistake that results in a cloudy appearance and a bitter taste due to over-extraction [9, 10]. Similarly, steeping for longer than 24 hours can introduce "woody" or overly fermented notes as the coffee begins to degrade [10]. It is also important to never reuse coffee grounds; the first steep extracts the majority of soluble solids, and a second attempt will yield only a weak, flavorless liquid [9].

If the brew is too bitter, try shortening the steeping time or increasing the coarseness of the grind for the next batch [9]. If the result tastes thin or watery, increase the coffee-to-water ratio or ensure the grounds are more thoroughly saturated during the initial stirring phase [10]. Respecting these boundaries prevents the coffee from crossing the line from rich and smooth to unpleasant.
References
- Specialty Coffee Association, 'SCA Coffee Grading Standards,' SCA, 2021. View source.
- Perfect Daily Grind, 'The Ultimate Cold Brew Coffee Guide,' Perfect Daily Grind, 2020. View source.
- Blue Bottle Coffee, 'Cold Brew Guide,' Blue Bottle Coffee, 2023. View source.
- James Hoffmann, 'How to Make Great Cold Brew,' James Hoffmann, 2020. View source.
- Stumptown Coffee Roasters, 'How to Make Cold Brew Coffee,' Stumptown Coffee, 2022. View source.
- Coffeegeeks, 'Cold Brew Coffee: The Complete Guide,' Coffeegeeks, 2021. View source.
- Espresso Coffee Guide, 'Cold Brew Coffee Guide,' Espresso Coffee Guide, 2023. View source.
- Home-Barista, 'Cold Brew Filtration and Storage,' Home-Barista, 2022. View source.
- Coffeegeek, 'Troubleshooting Your Cold Brew,' Coffeegeek, 2019. View source.
- Perfect Daily Grind, 'Why is My Cold Brew Bitter?' Perfect Daily Grind, 2021. View source.

I'm Isabella De Luca from Italy. After 7 years working across topics related to travel and food storyteller showcasing immersive journeys, local cuisines, and cultural rituals around the world., I’ve discovered that the best writing comes from empathy, clarity, and a genuine desire to connect.